
Manual
Read the manual.
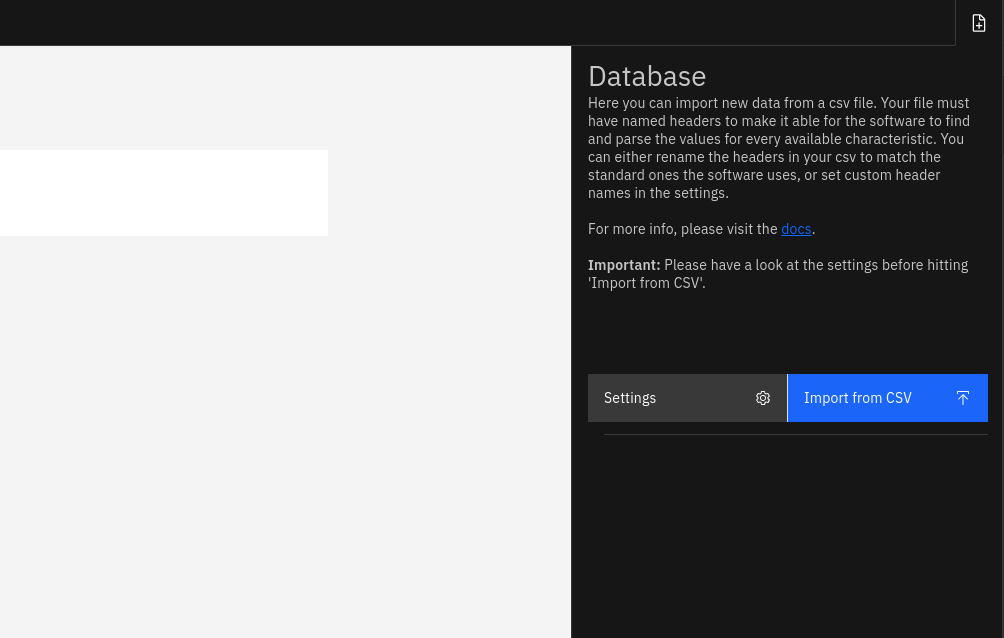
Import data
The goal of the app is to collect, organize, analyze and visualize weather data from your backyards weather station.
You need to export/backup the data from your weather station and import them as a .csv file into the app. You can also use your handwritten Excel lists or whatever - just save them as a .csv file with named headers, and you are good to go!
Currently, only .csv files with named headers are supported. You can manage the header names and the units within the app settings. You can also configure the input date and time format (this is important because various personal weather stations backup their data in different date formats).
Import settings
Before starting the first import, open the Import settings.

Headers
Under the heading Import you will find all the relevant import
settings. You need to set all header names according to your csv file
header naming.
Consider the following csv structure (table is split for better
readability):
| time | temperature | humidity | pressure | rain | solar |
|---|---|---|---|---|---|
| 2022/11/30 17:21 | 10 | 80 | 950 | 0 | 100.4 |
| 2022/11/30 19:21 | 15.7 | 75 | 951 | 0.9 | 124.9 |
| ... | ... | ... | ... | ... | ... |
| uvi | wind | wind_direction | gust | dew_point | felt_temperature |
|---|---|---|---|---|---|
| 4 | 15 | 303 | 25 | 8 | 10 |
| 5 | 5 | 187 | 280 | 10 | 10 |
| ... | ... | ... | ... | ... | ... |
To import this csv successful you need to set
- the option Header time to "time"
- the option Header Pressure to "pressure"
- the option Header Rain to "rain"
- and so on...
Date format
You likely need to change the option Date format to match your
data date and time format.
The default format is YYYY/M/D k:mm which translates to
2022/5/8 11:06. Other examples would be:
- YYYY/MM/DD HH:mm is 2022/05/08 11:06
- HH:mm - YYYY/DD/MM is 11:06 - 2022/08/05
- DD.MM.YYYY HH:mm is 08.05.2022 11:06
For a full reference, please see here.
Units
You can change the unit for each supported characteristic. Note: Setting this will only change the labels used within the app, there will be no conversion.
Import
If you followed the previous steps, you are now ready to hit the Import from CSV button and choose your file.
Navigate
Choose a date range and view every possible diagram for each characteristic.
Date selection
In the top bar there is a date range widget, with that you can set a custom date range to filter your data. Default value is the date of the first record and the date of the last record.
All tables, diagrams and stats respect the selected date range.
Pages
The app includes 7 pages:
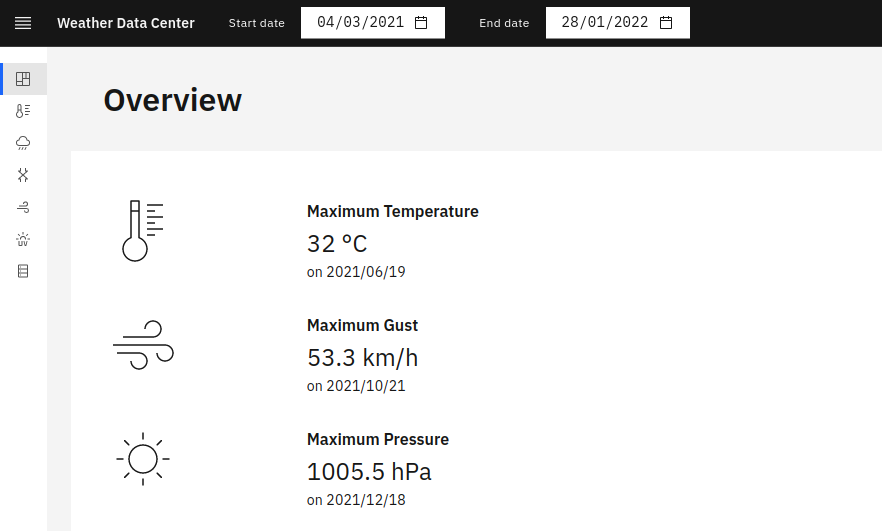
Overview
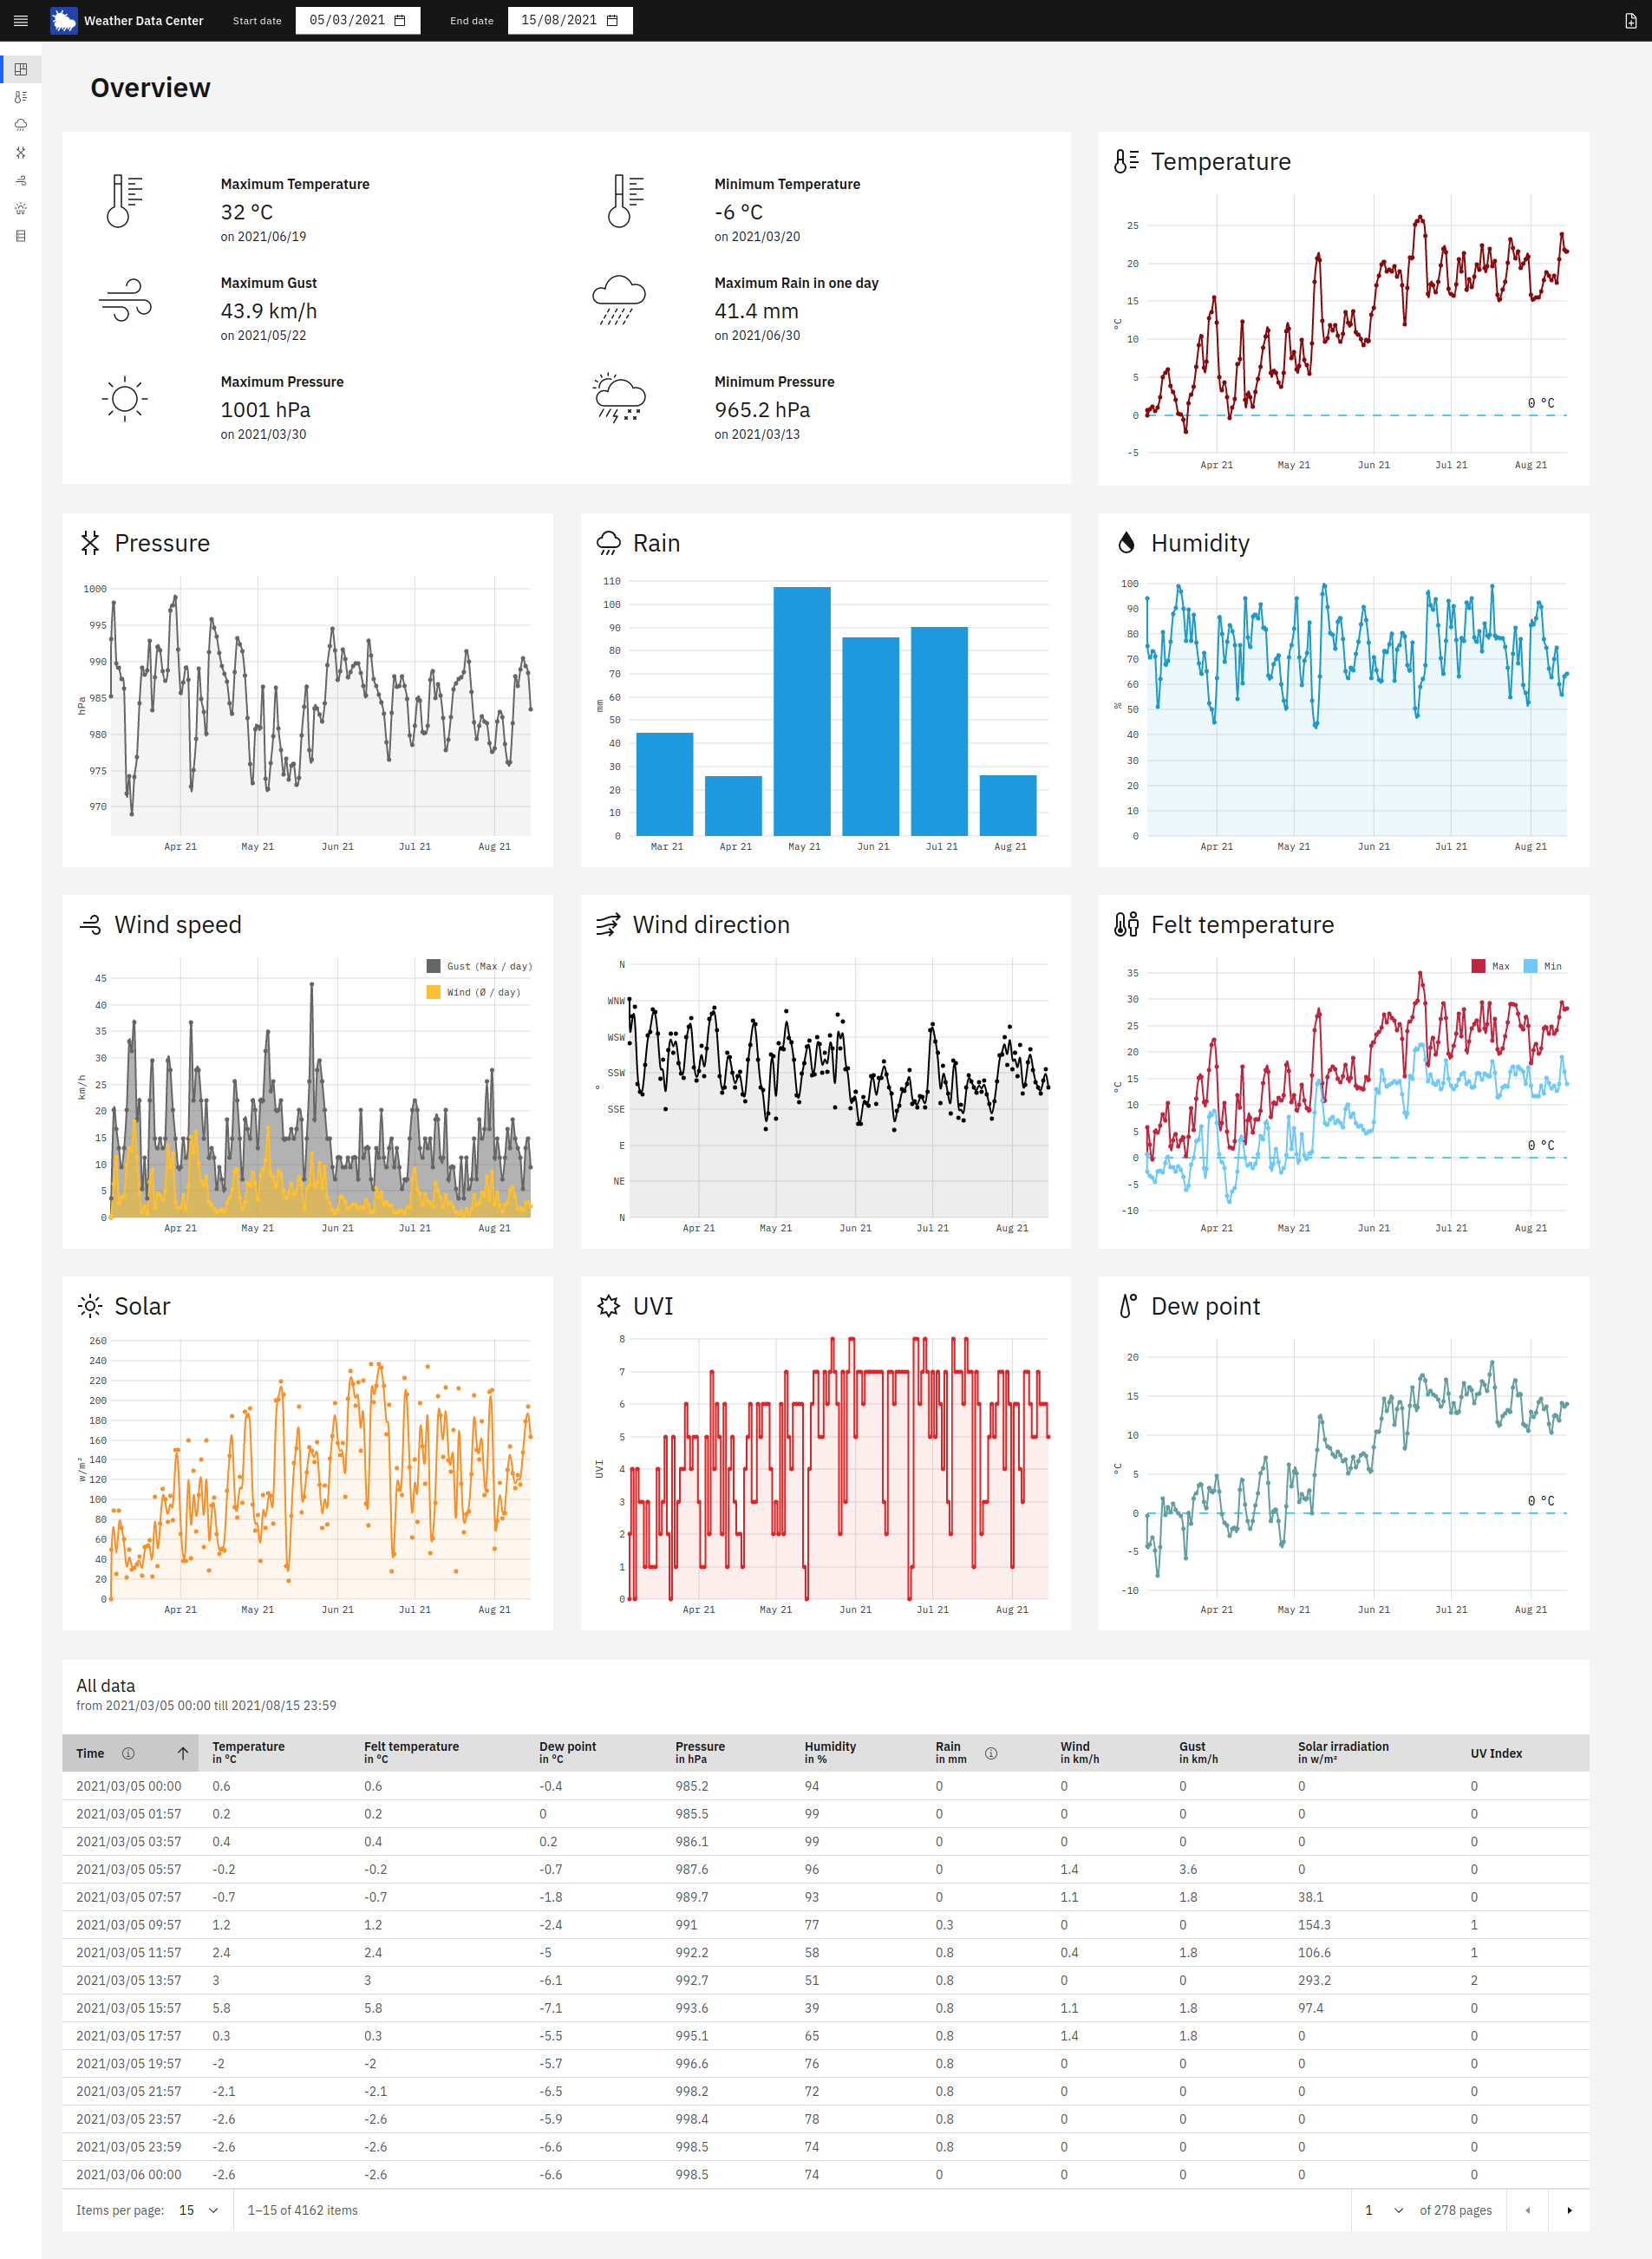
This page provides a quick overview of all collected characteristics via a diagram and table view.
Temperature page
Diagrams
- Temperature with stats (Ø per day)
- Combined: Temperature, Felt temperature and Dew point (Ø per day)
- Combined: Felt temperature Minimum & Maximum (Min/Max per day)
- Combined with selectable date range: day, month or year: Minimum, maximum and average per date
Precipitation page
Diagrams
- Annotated diagram per day with stats
- Selectable date range day, week, month or year: Rain per date
- Humidity (Ø per day)
Pressure page
Diagrams
- Pressure (Ø per day)
Wind page
Diagrams
- Wind (Ø/day) and Gust speed (max/day)
- Wind direction (Ø per day)
Solar page
Diagrams
- Solar radiation (Ø per day)
- UV Index (Max per day)
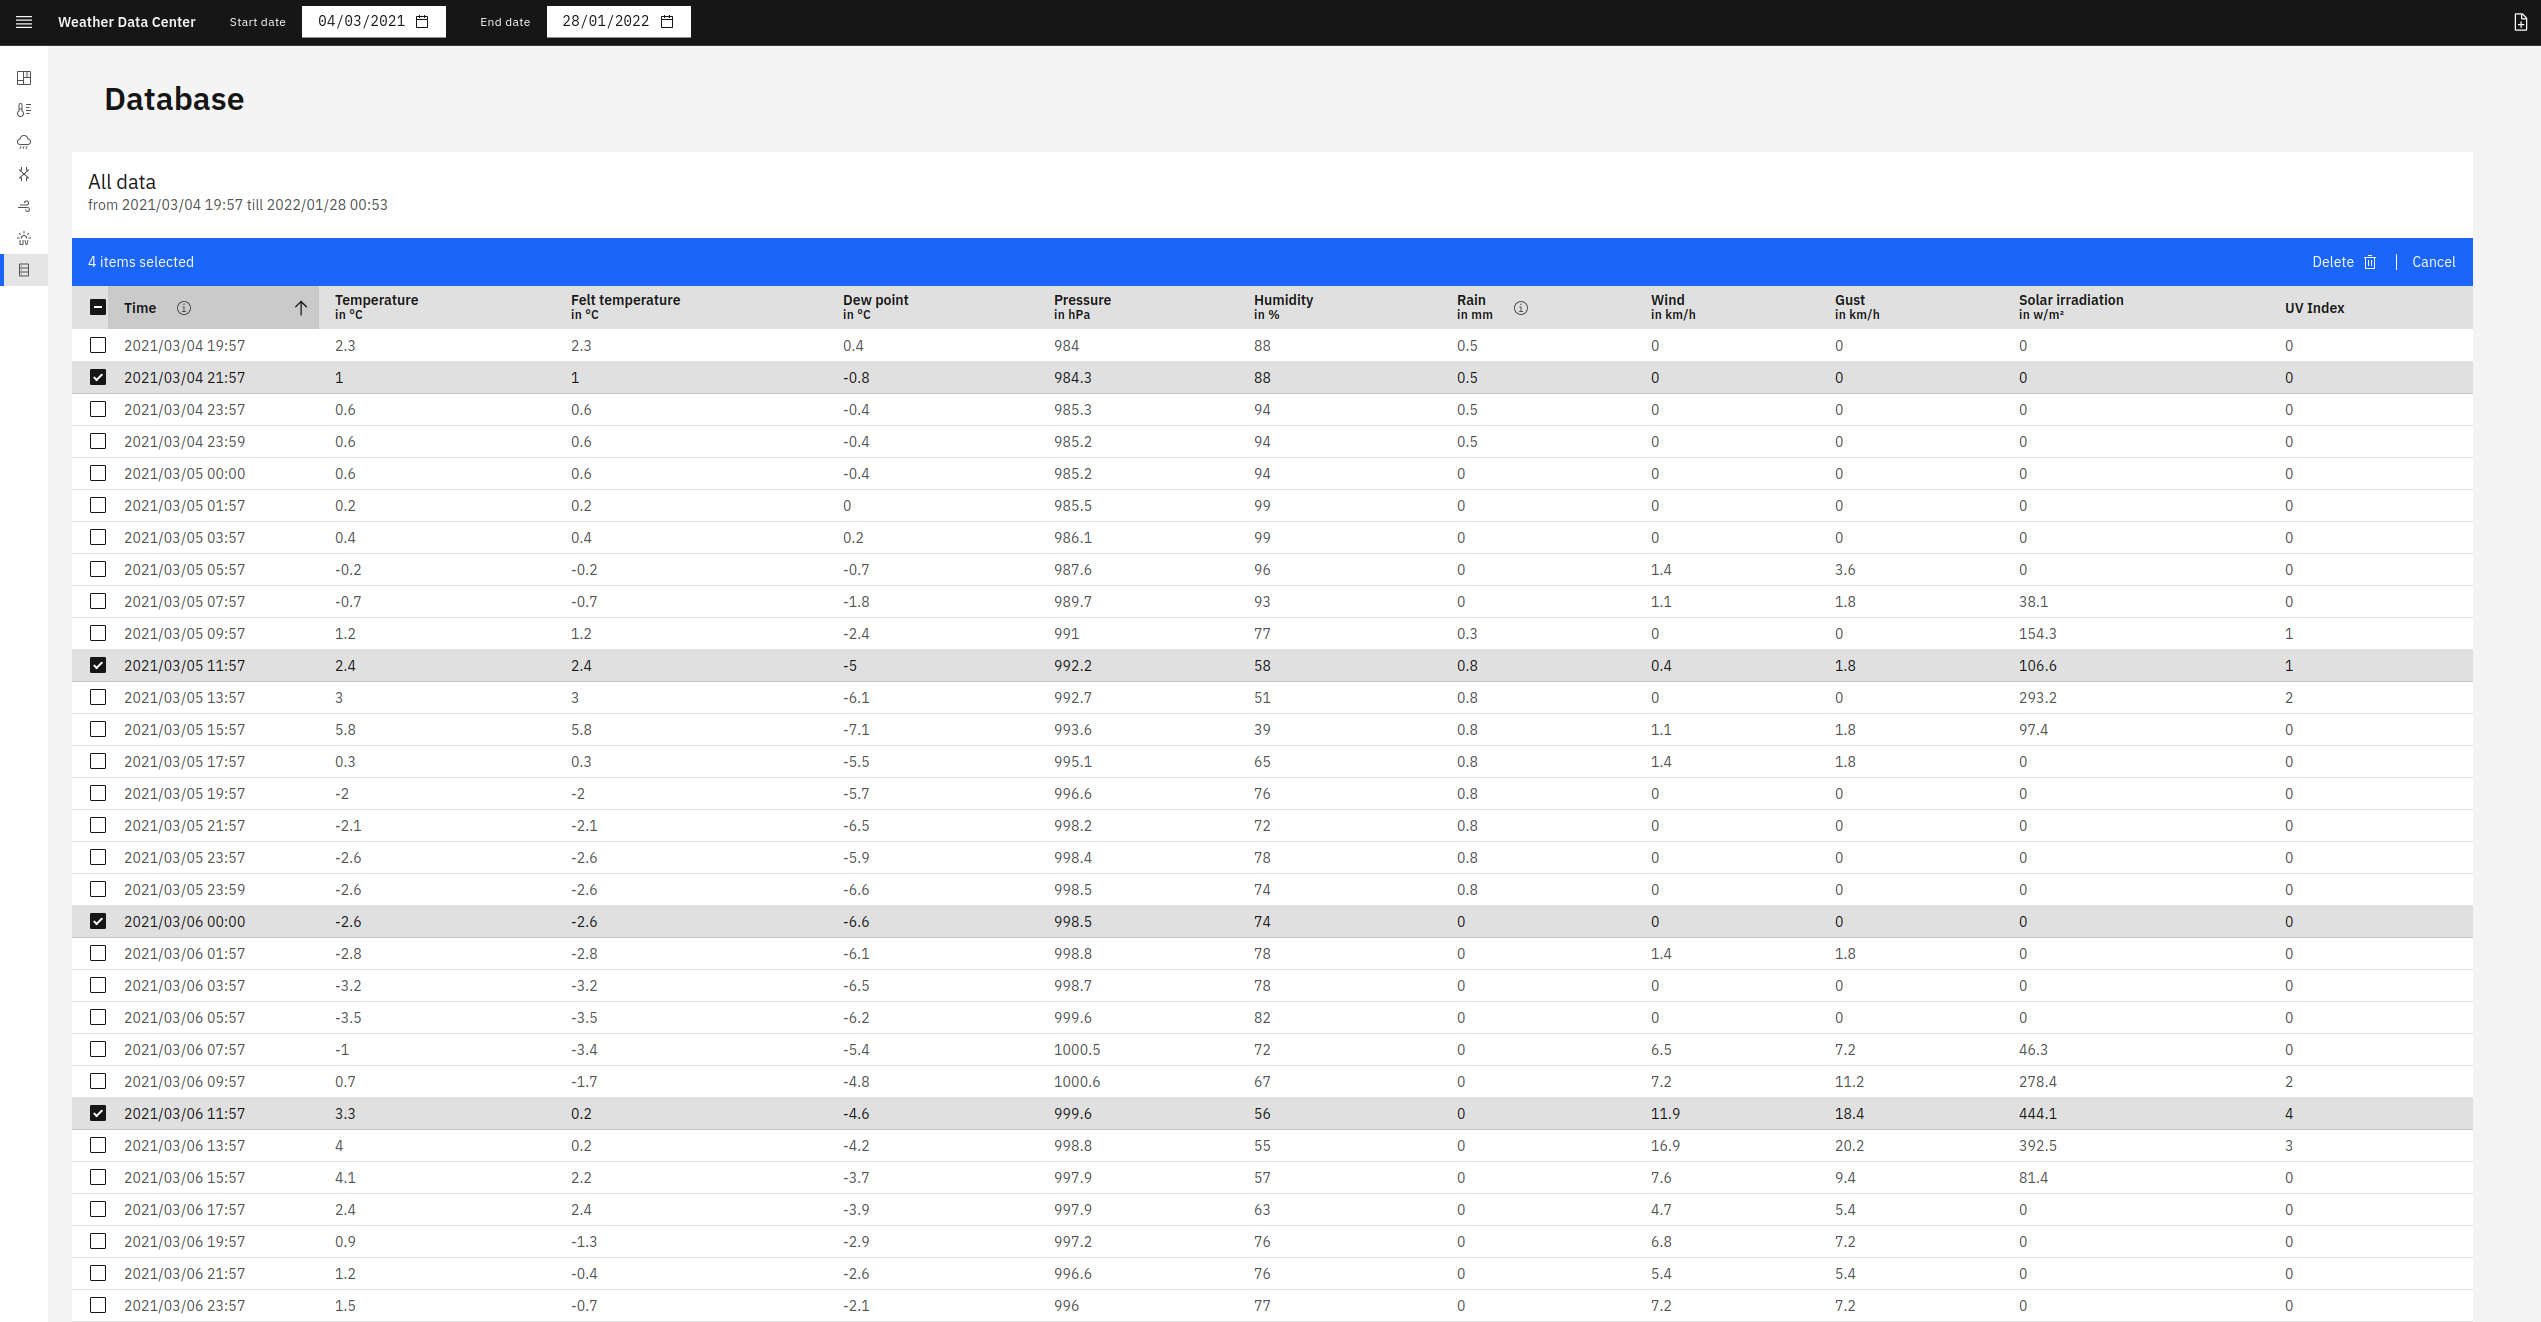
Database page
A huge sortable table of all records.
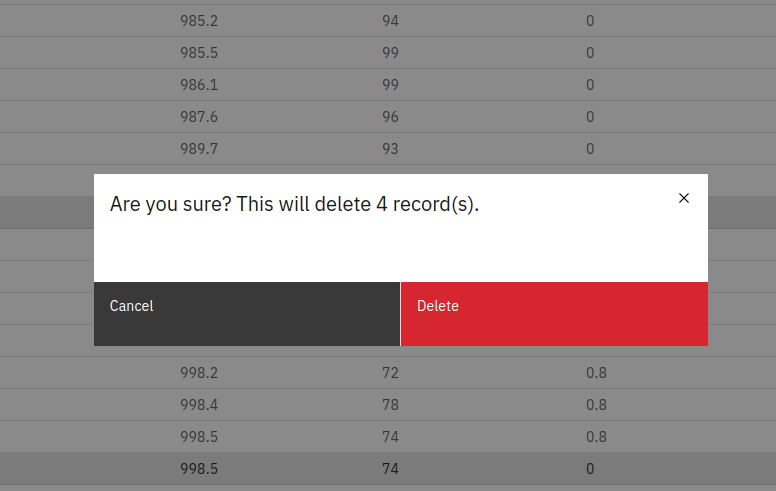
Deleting records
You can either remove all records form your database or you can choose and remove single records.
First, go to the Database page. Select either single records you want to remove or select all records by clicking on the checkbox in the upper left of the table.
Data storage
All data you upload is stored only on your local filesystem.
On import, the data gets transformed and saved to your local filesystem. The folder is in your user data directory which is typically
- For Linux, in ~/.config/weather-data-center/nedb
- For Windows, in %LOCALAPPDATA%\weather-data-center\nedb
- For MacOS, in ~/Library/Application Support/weather-data-center/nedb
Inside that folder you will find a file called data. Simply open it with a text editor of your choice. Please stop the app when editing this file directly.